
3 KEY INGREDIENTS OF AN APPEALING LANDSCAPE IMAGE
- Markus Albert

- Apr 24, 2024
- 3 min read
Updated: Jan 30, 2025

Without light, atmosphere and transitions most landscape images remain flat and lifeless. Those three factors interact, bringing images to life. Not every capture brings light, atmosphere and transitions along, but we can enhance them, or work them in afterwards.
Depth – the factor that actually no photo has
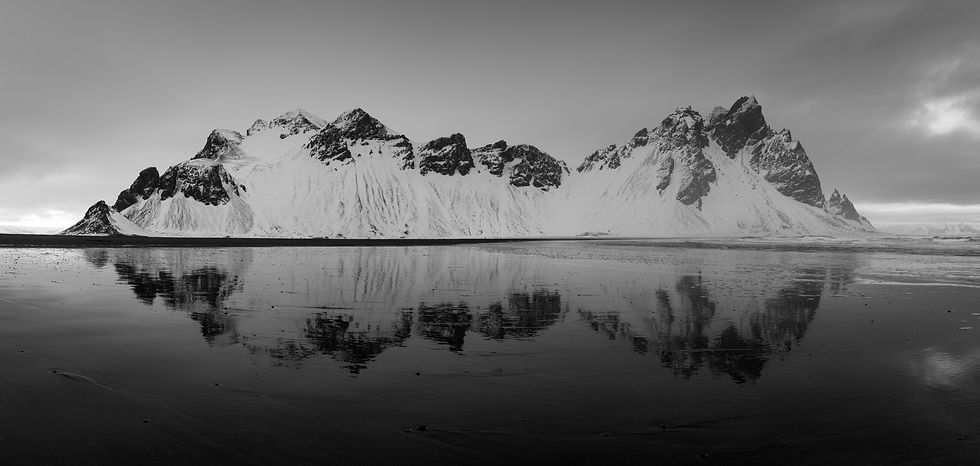
Our eyes are used to seeing in three dimensions. But every photograph is nothing but a two-dimensional surface without any depth. As landscape photographers, we are therefore challenged to evoke a feeling of depth via composition, choice of content and our editing techniques.
One of the most important elements of depth in a near-to-far-composition are transitions. Transitions can occur from large objects in the foreground to small objects in the background, from cold to warm colors, from strong to less strong contrast, from strong levels of black to less strong levels, from shadow to light, and from more clarity to less clarity respectively atmosphere, haze or fog.

Atmosphere creates depth
Atmosphere – be it fog, be it haze – is an important factor for image depth. Tiny dust and water vapor particles floating in the air cause clouding. Therefore, objects further away show less detail and contrast as well as less color saturation.
As viewers we intuitively understand that objects obscured by haze (or fog) are further away than those that are clearer to see. Understanding and internalizing this rule lets us automatically take a major step forward in our editing approach. With the right techniques we can make use of this physical truth by giving our images more depth and making objects such as mountains or trees appear to be further away.
Where there's light, there's also shadow (apologies to all Star Wars fans for borrowing!), and both enhance the depth of an image. If objects such as hills or mountains show an illuminated as well as a shaded side, their three-dimensionality will be more obvious. Furthermore, light also attracts our attention as viewers. Our eyes automatically wander to the brightest spot respectively the spot with the strongest contrast.


Reinforcing light, atmosphere and depth via editing
In my editing approach painting with light and atmosphere is one of the most important steps. This usually works best when some of it already was in the image beforehand – and sureley not every image is suitable. For example: A blue sky image will most probably never become atmospheric.
Dodging and burning are the necessary technical means to enhance spatial impressions of objects and surfaces. Both methods can easily be done in Adobe Photoshop or Lightroom with the brush technique.
For achieving more atmosphere or haze in Adobe Lightroom and/or Camera Raw for example, you can use the "Dehaze" slider in the negative range. This effect can be intensified by lowering the contrast slider, pulling up the blacks and/or increasing the brightness. You can then brush in haze or fog into selected background areas or onto objects. An opacity of 5 to 10 percent - or even less - is often sufficient.

It's the combination that does it
In Photoshop I sometimes use a mixture of brightness, haze (negative "haze removal") and Gaussian blur - similar to the Orton effect - in order to enhance or create atmosphere. As usually, the trial and error method does it.
Have lots of fun and many atmospheric images!

Comments